How to Install PS Wall Panels: A Step-by-Step Guide
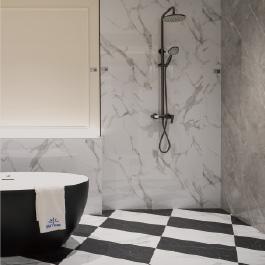
Polystyrene (PS) wall panels offer a lightweight, 100% waterproof, and termite-proof interior cladding solution for commercial and residential projects. Engineered from high-density polystyrene to replicate luxury wood, marble, and metallic finishes, they eliminate the need for heavy sub-framing. Discover the official 8-step installation guide to maximize job-site efficiency and achieve seamless, high-end wall finishes.
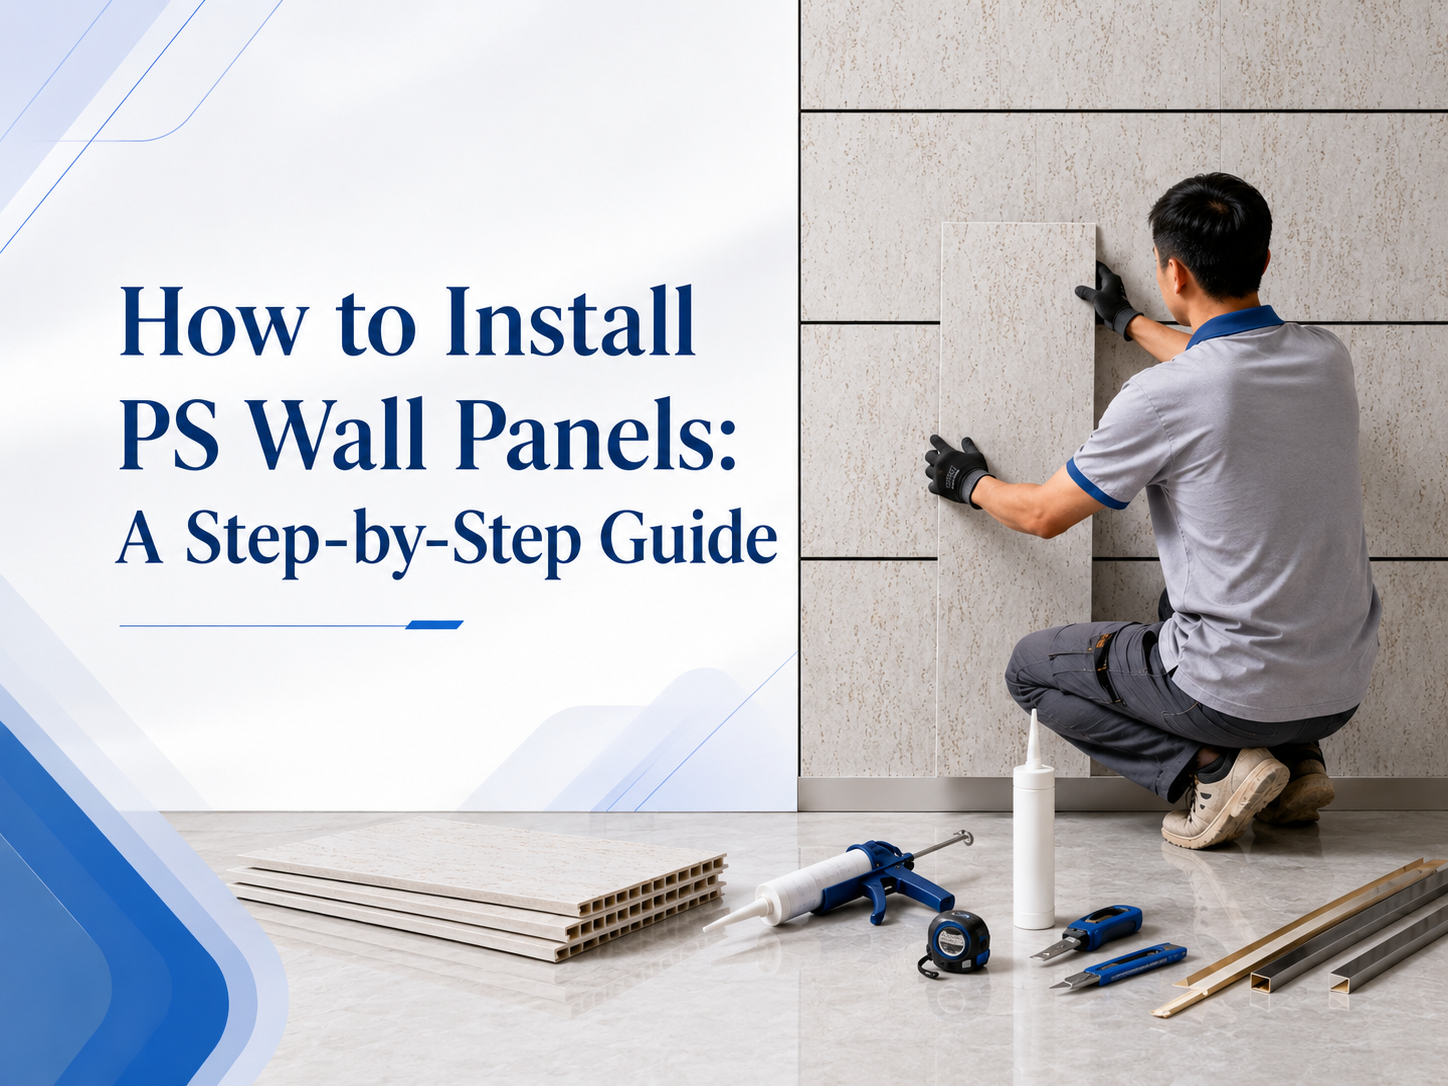
How to Install PS Wall Panels: A Step-by-Step Guide for Commercial & Residential Projects
Polystyrene (PS) wall panels offer a lightweight, 100% waterproof, and termite-proof solution for modern commercial and residential interiors. Engineered from high-density polystyrene, they replicate luxury wood, marble, and metallic finishes without requiring heavy timber sub-framing.
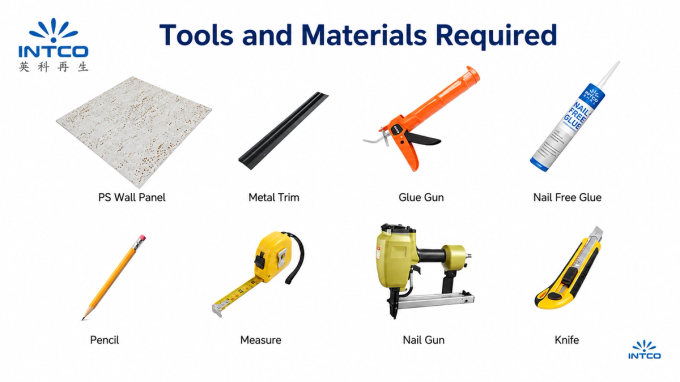
Tools and Materials Required
- PS Wall Panels & Metal Trim
- Neutral Nail-Free Glue & Caulking Gun
- Tape Measure, Pencil & Level (Laser or Spirit)
- Utility Knife & Steel Ruler
- Pneumatic Nail Gun (Optional for heavy commercial sites)
Pre-Installation Checklist
- Substrate Check: Ensure the mounting wall (drywall, plywood, or concrete) is clean, dry, flat, and dust-free.
- Acclimatization: Store panels flat in the room for at least 24 hours before installation.
- Waste Margin: Order 5% to 8% extra material for cutting and trimming allowance.
Step-by-Step Installation Guide
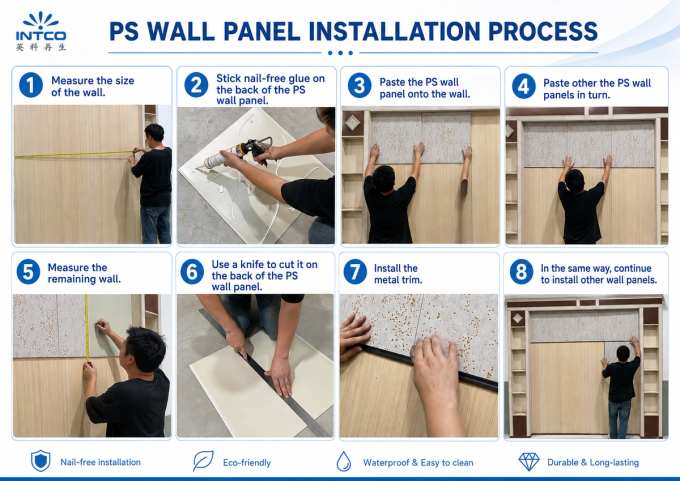
Step 1: Measure the Size of the Wall
Measure wall height and width. Establish a straight reference baseline using a laser level.
Step 2: Stick Nail-Free Glue on the Back of the PS Wall Panel
Lay the panel face down on a soft surface. Apply continuous wavy/S-shaped beads of neutral nail-free adhesive along the back face.
Step 3: Paste the PS Wall Panel onto the Wall
Align the first panel with your baseline starting from a corner. Press firmly across the surface for several seconds to bond.
Step 4: Paste Other PS Wall Panels in Turn
Mount subsequent panels side-by-side, pushing them tightly together for seamless joints. Periodically check level alignment.
Step 5: Measure the Remaining Wall Space
Measure the exact width or height needed when reaching wall edges, corners, or obstacles. Transfer measurements to the back of a new panel.
Step 6: Use a Knife to Cut It on the Back of the PS Wall Panel
Lay the panel face down, align a steel ruler along the mark, and score firmly with a utility knife. Snap cleanly from the back to protect the front decorative finish.
Step 7: Install the Metal Trim
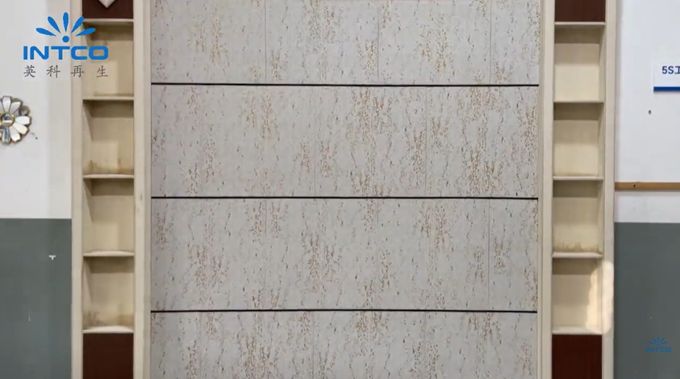
Insert decorative metal profiles along top or transition edges to cover cut lines and add a modern accent.
Step 8: Continue to Install Other Wall Panels
Repeat the process until the full wall area is covered.
Frequently Asked Questions
- Can PS wall panels be installed over wallpaper?Yes, provided the existing wallpaper is clean, dry, and firmly adhered to the wall.
- What adhesive should be used?Use neutral, solvent-free nail-free adhesive or polyurethane glue. Avoid solvent-based glues that can dissolve the polystyrene core.
- Are they suitable for humid spaces?Yes, high-density PS is 100% waterproof and mold-resistant, making it suitable for bathrooms and basements.
Partner with a Leading PS Wall Panel Manufacturer
Are you looking to source premium PS wall panels, fluted wall cladding, or custom decorative moldings for your distribution business or upcoming commercial project? We provide direct factory wholesale pricing, OEM/ODM custom profile production, and worldwide shipping. Contact us today to request a comprehensive wholesale price list and order your complimentary B2B sample kit!